GLIDER CHRONICLES 2011 – September 3rd : An Evening down on the Farm Strip

Thanks to the good organisation of one of our instructors – Farmer Dave – we recently had a rare chance to fly from a nearby field at a neighbouring farm. So a group of 25 or so of us, arrived literally “out of the blue”, and descended on a quiet field in the Hampshire countryside.

The actors in this particular play were:

Mr “Full Cat” Instructor
Farmer Dave. None of it would have happened without his untiring efforts.

The Tug
The recently refurbished Lasham Piper Pawnee crop duster tug aircraft G-TOWS, in its bright yellow livery.

G-TOWS Piper Pawnee Lasham Tug

The Tug Pilot
The amazingly highly experienced airline pilot Andy who was to demonstrate some phenomenal flying skills throughout the evening.

The Gliders
Two of the faithful Lasham ASK13’s. There was a reason we only took two as will soon become clear.

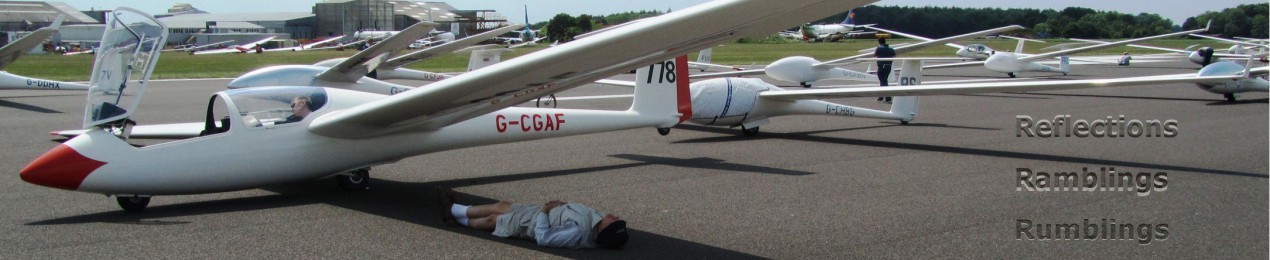
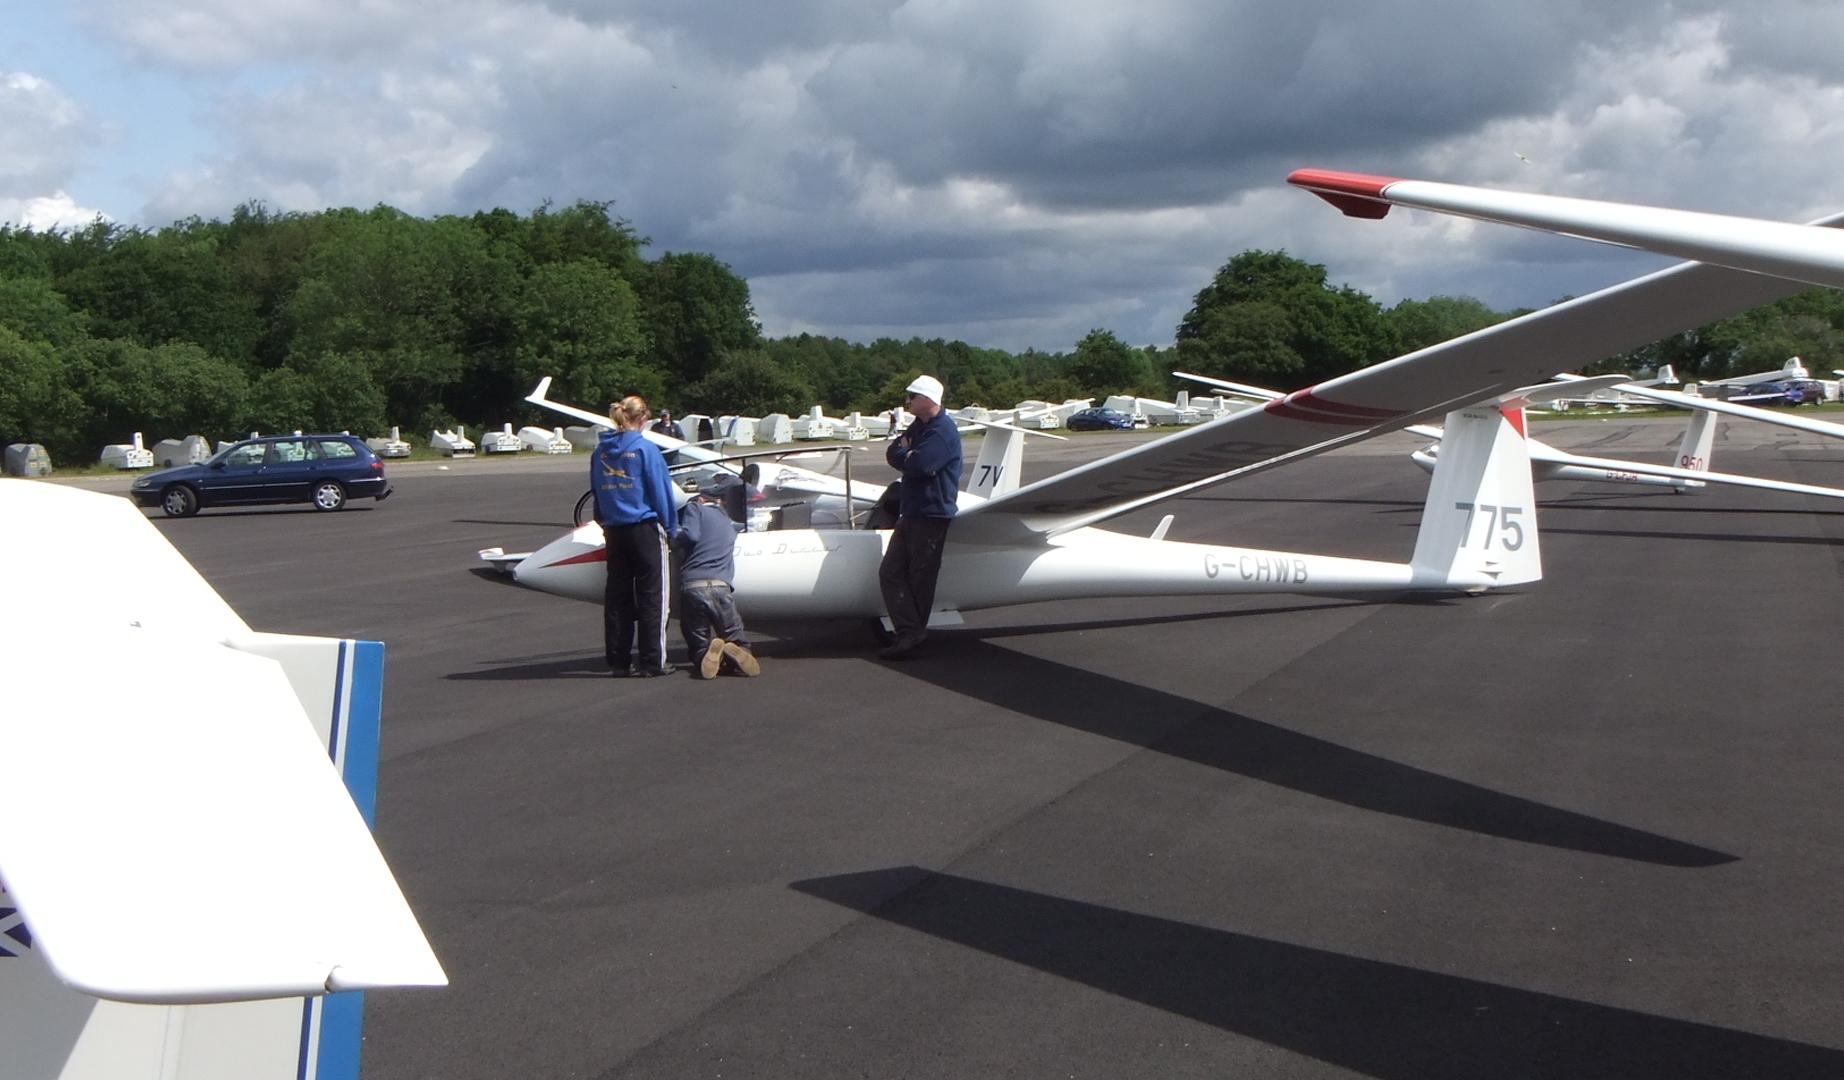
Some of the Lasham K13s parked up on a windy day.

The Instructors:
The normal crew of Saturday night youth instructors who were going to put the trainee pilots through their paces at a farm strip. A new experience for some of the instructors, so this was not your normal set of lessons.

The Trainees
About 20 or so young and old flyers champing at the bit to get flying in a small field.
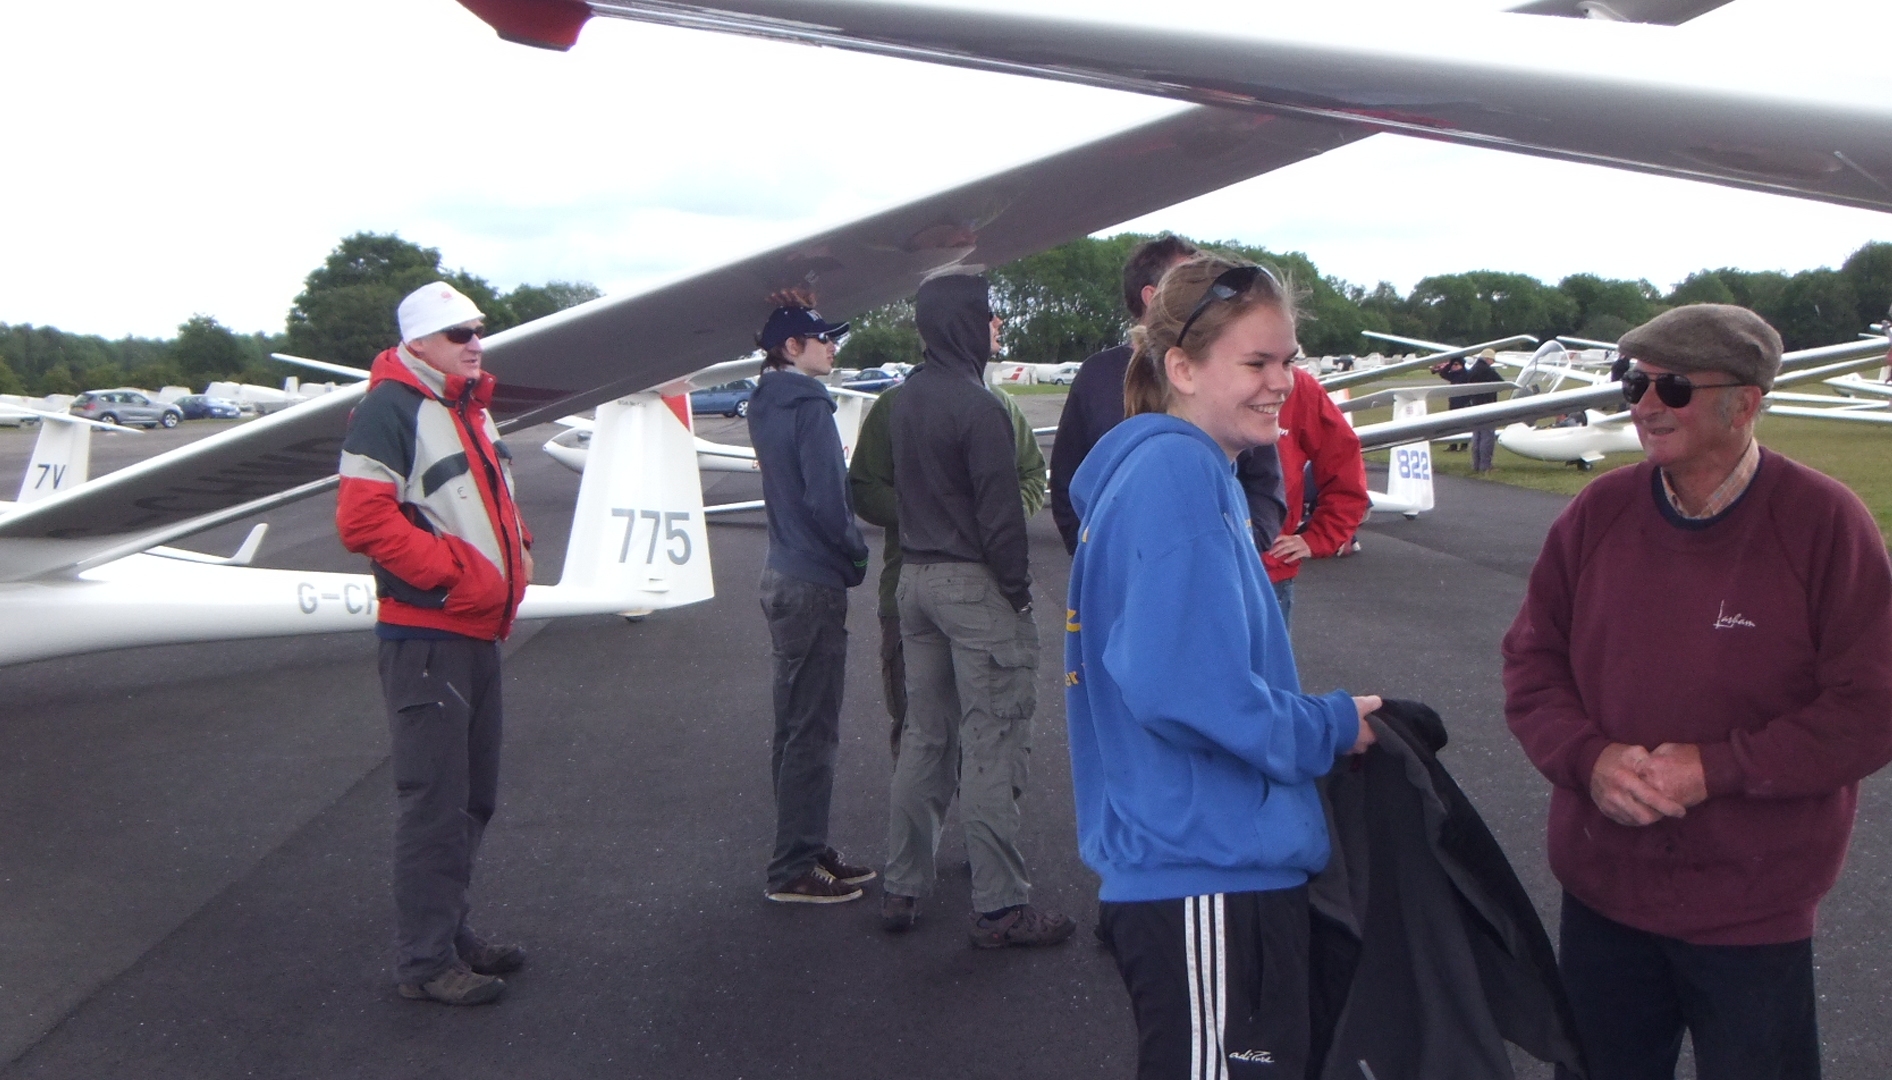
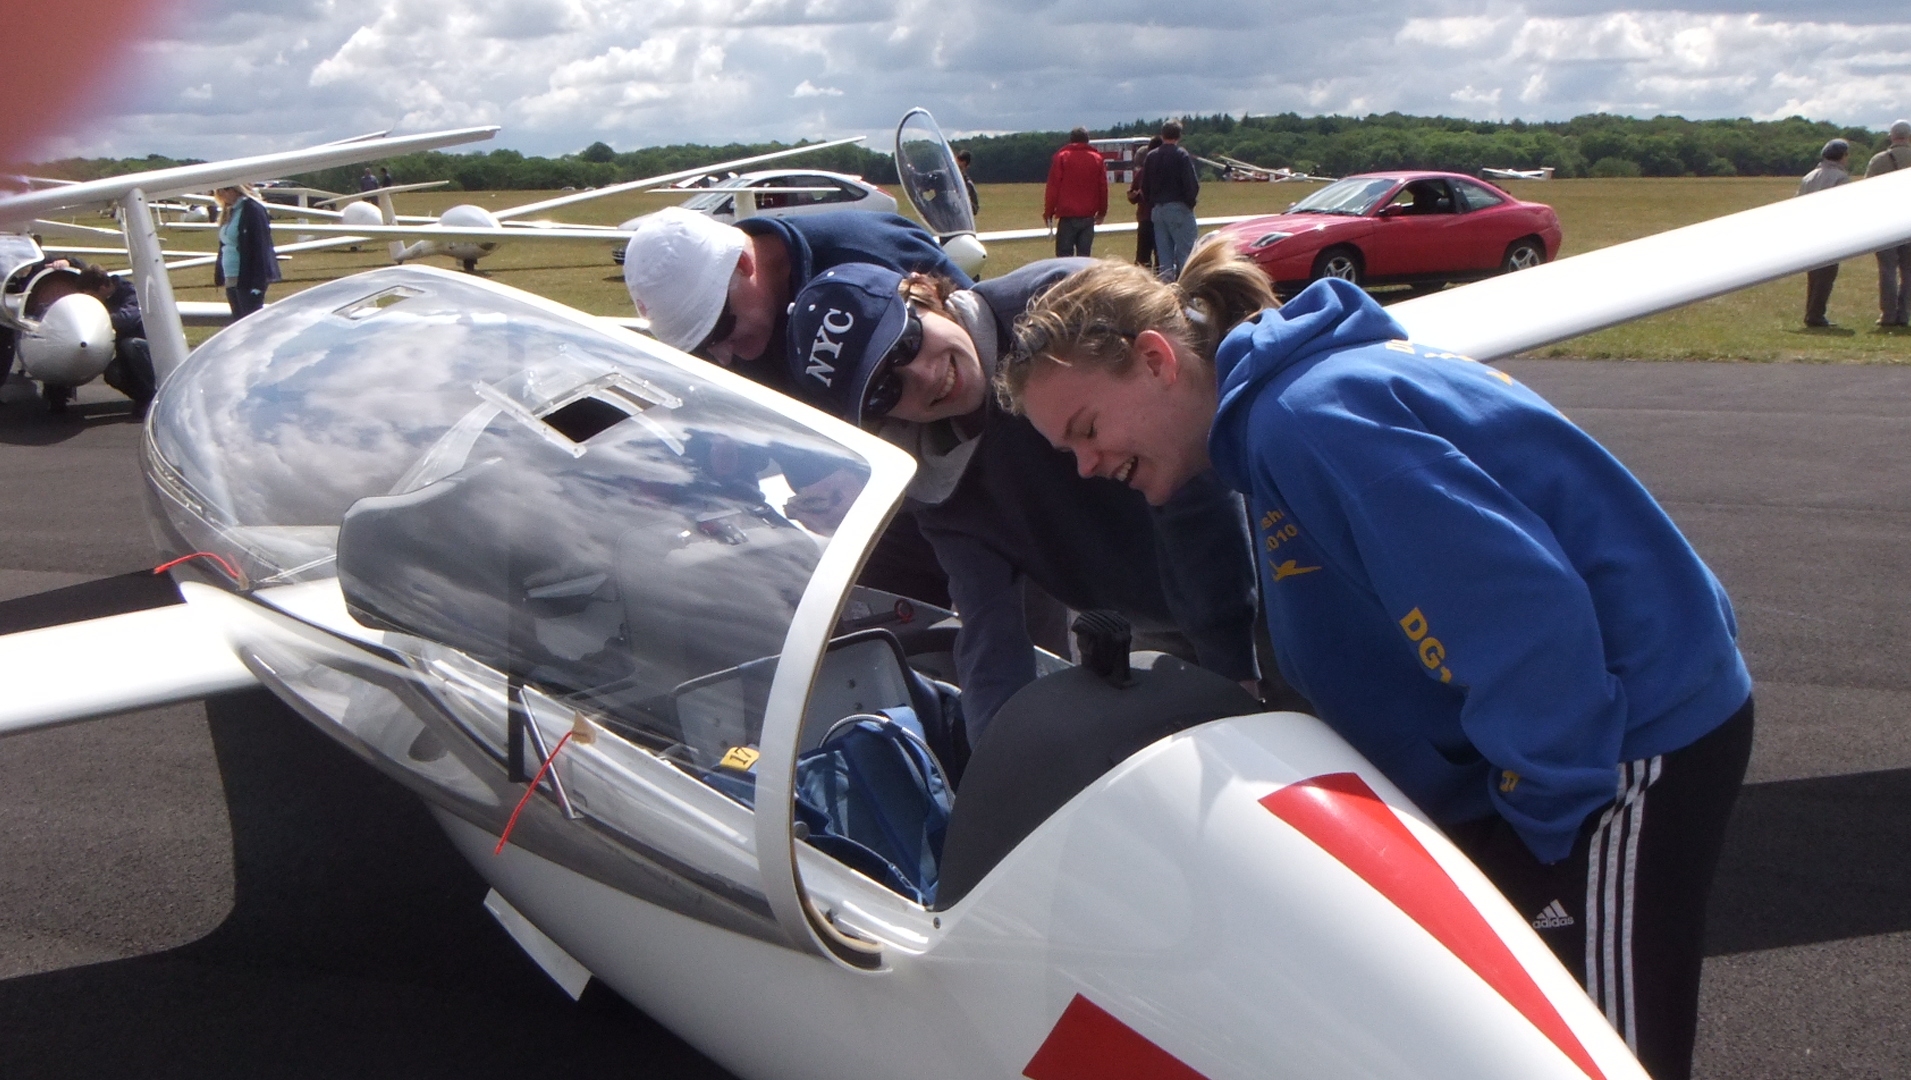
Some of the crew.


Let me explain a little background here: Lasham is a wonderful airfield and a great place to fly, but it has just one problem when it comes to small field landing practice, it is BIG. The main runway is a mile long and so when we train for field landings we have to imagine we only have half or third of the airfield available. This is not the same as actually… errr… only having half or third of the size of field to land in for real!

Now normally it is only the youngsters who fly on the Saturday evenings, but such was the occasion that a number of adults who help out and are also trainee pilots, like yours truly, wanted to have a crack at practising a REAL field landing. Though to get us all a flight we would really need to get a move on – but I am getting ahead of myself.

As ever with these Chronicles, I like to start with the peace and calm before the day’s activities…

In the Calm of the Day
First off, since I was to be the Launch Point Controller for the evening, I wanted to go down to the strip and check it out, as well as timing how long it would take to drive there. This was to be of crucial importance since the 2 gliders were to be launched from Lasham and flown down to the strip fairly close together and some of us would have to turn up at the airfield BEFORE the first one landed in order to tow it out of the way before the second glider landed.

I did mention space was tight didn’t I? This meant we could only have one aircraft on the runway area at a time and would have to weave the 2 gliders and the tug around each other so they didn’t clash. This is why we could only take two gliders. Three would have been too many and would have held up proceedings.

As you can see Dave had put a special high tech farming blue plastic bag where he had mown out the taxiway for towing the gliders back from the landing point.

High tech farm style taxiway marker. My car is down at the launchpoint area in the distance.

Meeting at Lasham Clubhouse
After having sized up the field and got my head around how the evening’s proceedings were likely to unfold, it was back to the clubhouse to wait for everyone to turn up. By 5pm all were gathered and we had a quick briefing and decided which young pilots would fly the gliders over to the field. They were to be aerotow launched by some of us from Lasham who would come over later.

As soon as the decision was made I had 2 spare parachutes packed into my car and grabbed 4 passengers and we drove off to the farm strip toute de suite, pronto not to say immediatemente. As mentioned above, time was of the essence as we had to be there in order to tow the first glider arrival out of the way.

Fred towing back a glider to the launch area.

Arriving at the Farm Strip
It was just as well we didn’t hang about since as soon as had we parked up and got ourselves organised, the first K13 was starting its circuit. Thats the great thing with aircraft, they can go in a straight line!

So off I went with my car to the blue taxiway marker and got ready to tow it out of the way. It was Farmer Dave along with Ella. Because of the faster-than-walking-pace idle speed of my car (indeed of most cars) they had to trot back with the glider, despite me slipping the clutch.

Luckily just after that, Fred the Man with the Land Rover, turned up and as “The Controller” I volunteered him for glider retrieve duty. Another one of those unsung heroes.

Soon afterwards Andy arrived with the Pawnee and landed DOWNWIND. For those that don’t know, downwind landings are tricky because they take up so much more distance. They can increase the landing run by over half the length of an into wind landing. During the evening the amazing Andy was to do all of his landings downwind, a strategy that (a) saved time and (b) saved fuel since he didn’t have to land into wind and then backtrack down the runway towards the next waiting glider. Another factor was that all the aerotows were to only 1500ft, lower than the normal 2000-2500ft you would expect. Again this was to save on fuel and meant we managed to get 20 launches done without refuelling the Pawnee.

Fast Turnaround
If you were on the ball you would have noticed that I said I had packed 2 spare parachutes in the car. While the first landing glider was retrieved the NEXT pair to fly, instructor and trainee, donned these parachutes so that when the retrieved glider was back at the launch point, they could get straight in. The rest of the crew would then push the glider back to the launch position while they went through their pre-takeoff checks from the cockpit! Normally you would have time and space on the airfield at Lasham to do this in peace, but we had neither of those commodities. Needless to say we had to try and be calm about it so that the checks were done properly and were not rushed.

So within 5 minutes of having landed, we were able to launch the first glider from the strip before the second glider had landed. Wow! I could see this was going to be a busy evening, what with:

– Immediate retrieves of the landing gliders.
– Downwind tug landings.
– Parachutes ready for the next flyers.
– Pre-takeoff checks while being pushed back to the launch position.
– plus seamlessly slotting in the launching and landing aircraft.

And so it was, but also fantastic fun. I did not manage to get any action shots since I was running around like the proverbial Blue A**ed Fly arranging who was to fly next and then controlling the launches from the radio. However thanks to Jon, one of the instructors, most of the following shots should help give you some idea of the action packed evening.

Pawnee firing up for the next tow. Yours truly running up to attach the glider.

Alex "On Tow" with one of those flying grins.

The Pawnee waiting for the next launch while...

Farmer Dave gives some pre-launch advice to Joe and Tom.

Yours truly on finals to land in the field - hopefully.


Spectators
We had many spectators during the evening who must of wondered what hit them with all the activity. I mean – how often do 20-30 people turn up with 3 aircraft for 2 hours – fly around the sky a bit – and then disappear into the dusk? Some of the locals even had a barbecue party up on the hill overlooking the field to watch the action from a safe distance.


So, once again, a fun filled evening, a great experience for young and old-ish alike, and that wonderful “Ahh” feeling at the end of the day.

What a great way to spend an evening in the fresh air and the beautiful English Hampshire countryside. THANKS FARMER DAVE.

The evening sun sets over the field after the last flight has left.

GLIDER CHRONICLES 2011 – July 23rd : Gliding with Seagulls

The previous weekend had been a real stinker as far as the weather was concerned with rain and more rain in the middle of July. So I was glad on Friday 22nd that the forecast for the Saturday said it would be soarable. I set the alarm the evening before and even missed out on going to a party because I knew I would be up early and flying the next day – such dedication. A shame as I enjoy a good dance and later heard it was a good shindig.

An early start the next morning getting to the club for the 8am glider ballot with my eye on the retractable version of the Baby Grob – SH7 – which I had flown the previous time and really liked. As it turned out there were only two of us each having a choice of three gliders so no need for drawing lots and we put our names down for our respective aircraft.

Then I noticed an even earlier riser who had put the very first, and lonesome looking glider on the grid. I had to have a photo of that and it turned out there was a small tale to this glider. The pilot launched at about 11am and didn’t get back until about 7pm, calling up on the radio in the evening when I was running the launch point for the Lasham Youth cadets. Hats off to the pilot who I believe is the BGA chairman – well, he is down as the owner. I can only aspire to such an accomplishment at the moment.

At the morning club briefing the forecast was good although with some overcast spreadout later in the day. Once again I could see that even at 9am the conditions were developing quickly. I was so impatient to get flying that I forgot to put on sun tan cream – which with a fair skin like mine is bad omission.

08:05 : The lone first glider on the grid in the morning.
Is the owner a physicist by any chance? (Zoom in to look at the registration)

08:47 : Morning clouds starting to build as the launch point vehicles get their DI (Daily Inspection).
The clouds got larger and I got impatient.

Explanation: Post-Launch and Pre-Landing checks – or its TUF crying WULF.
The post launch checks are important since if you forget to raise the undercarriage after launch it is possible you will raise the undercarriage before landing because you will be out of sync. This seems crazy – of course I know which way the lever should go! – but landing can happen under pressure so mistakes can easily be made.

Post-Launch checks mnemonic is TUF for:

T – Trim.
Adjust as required for the flying conditions.
U – Undercarriage.
Raise the undercarriage.
F – Flaps.
If fitted set them as required for the flying conditions.

Pre-Landing checks mnemonic is WULF for:

W – Water – Dump the water ballast.
This can take a good number of minutes, the Baby Grob manual says it needs 3 minutes. The Discus needs 5.
U – Undercarriage – Lower the undercarriage.
The important thing here, apart from remembering to do it, is to make sure it really is locked. SH7 has had some landings where the undercarriage “collapsed” because the lever had not been moved far enough forward to lock it.
L – Loose articles; Landing area; Lookout.
Loose articles includes the pilot! i.e. Check your straps. Check the Landing area for obstructions etc (though there is a whole another mnemonic for field landings), and Look out. At Lasham the latter is drilled into you since it can be very very busy in the circuit.
F – Flaps.
Set flaps, if fitted, to their landing position.

The Lasham manual page for these is here.

WULF, U/C, plus the QFE and QNH pressure settings.

What I did remember to do was stick a piece of paper on the instrument binnacle to remind me about lowering the undercarriage before landing. In this case there are apparently two sorts of pilot, those who have landed with the undercarriage up, and those who have not – yet.

The first launch of my day was off the winch and I only got to 1200 feet. It looks like I need to talk to an instructor to get some tips. Although I did connect to some very weak lift I decided to go off in search of better air and failed miserably to keep flying – I came down within 8 mins! Later in the bar I was roundly ridiculed by a fellow member of similar ability because I did not stay in the weak lift – fighting to climb away from the winch for half an hour like he did. So…

Lesson 1 of the Day:
Must try try harder from winch launches and not give up so soon.

Not that I am worried about my credibility in the bar you understand!

Due to a delay with the winch queue, for the next flight I decided to take an aerotow up to 2500ft which enabled me to learn the foibles of SH7 and also find decent lift. Not only was there some good lift, but there was also a copious amount of fast sinking air. I have not previously experienced such extensive downdrafts as strong as these – you rejoice on climbing up 500ft, which can be a struggle, and then to lose it in 1 minute because you hit some fast sinking air is depressing both psychologically as well as in height terms. However I did manage a 2 hour flight this time.


If you don’t know what QNH and QFE stand for I have put an explanation at the bottom of this post.

12:25 : Lasham from around 3500ft.

12:26 : Picture taken towards Odiham of a "working" sky.

12:27 : 400ft/min going down. Ouch. Struggling to find the lift.


Today was an object lesson about how thermals are not always circular. We get all this training about how to circle in a rising bubble of air, trying to centre in it properly, but now I am finding that the lift is anything but circular.

Lesson 2 of the Day:
Lift is not always circular.

The best time of the flight came when I spotted some seagulls as I was circling in some mediocre lift. As there were no gliders nearby I decided to try and circle underneath the birds. There have been a few other times when I have managed to do this and I always find it to be a wonderful experience. This time I found that in order to follow the seagulls my circles were very irregular, however I did manage to stay in the lift and gained some useful height. Unfortunately this only lasted for a short while before the seagulls disappeared, but it still felt great to be “flying with the birds”.

Lesson 3 of the Day:
Birds are smaller and more manoeuvrable than gliders and you cannot keep up with them.

After the flight it was a landing further into the airfield (called landing “long”), to park up by the hangar for cleaning duty. After this was done I helped the other early rising club member from the 8am ballot to de-rig the Discus. I was anxious to help out since I need to learn how to do this myself. Luckily it was not too hard, but will need someone to help. I am hoping to talk more about these lovely looking gliders later on in my flying development, once I am cleared to fly them. Hopefully before the end of the year.

14:15 : SH7 retractable Astir cleaned up before being packed back into the hangar.


Shot of SH7's cockpit after the flight.


Explanation: Cockpit Contents.

You can see here a shot of the roomy interior showing the items I usually take.

Items going clockwise from the bottom centre, including the easily visible control levers, are:

– One parachute – of course. Only the best dressed pilots have one, it does wonders for the look of your trousers when walking around outside the aircraft!
– One bottle of weak elderflower drink. I can’t stand having just water so I always add a bit of taste in, which also seems to help stop leaching salts out of me. My medical knowledge on this may be suspect, but I do notice the difference. One of my next todo items is to get a backpack drink system because it is too much faff to get the bottle out while you are trying to chase seagulls in a glider!
– One aviation map. Due to force of habit I always carry this with me, even when going for local flights. I also like to have the latest MemoryMap map in my phone since they do the proper aviation maps and it is always good to get confirmation by GPS, although I don’t rely on it.
– Green Trim Lever.
– Blue Airbrake Lever.
– Yellow Cable Release Handle.
– Joystick. Definitely need one of these.
– Silver Undercarriage Retract Lever. Forward all the way for down.
– Red Emergency Canopy Release Lever.
– One handheld radio as a spare. Always good to have a spare radio in case there are problems with the on board setup, say like a flat battery. Though the on board radio is going to be more powerful than my handheld one. From this you can start to get the idea that I might be a control freak!
– Microphone for the on board radio.


YOUTH EVENING TIME


After my day of flying, it was time to get ready for the youngsters turning up for their evening training. So back to the clubhouse for a scone and a cuppa and then over to the launch point.

As you can see from the first of the following photographs, it turned out to be a beautiful evening. There was plenty of enthusiastic help to run the launch point and we even had enough winch drivers to have both winches working, so our launch rate was prodigious! We had a total of 40 launches done before the end of the day – many thanks and well done to all the youth, parents and instructors who helped.

Then later, as usually happens, one of the instructors starts touting for ballast – sorry passengers – towards the end of the evening to see who wants to come and partake of some aerobatics in a K21. There is never a shortage of takers.

In a future post I will use the winch photographs to help describe how we handle bringing the cable back from the winches to the launch point.

19:33 : A silver lining in the evening.

20:02 : Picture showing the twin winch operation of the evening youth group.

20:16 : John can never resist the late evening aerobatics before putting the K21 away.


Altimeter in SH7 showing a height of 2760ft.
Pressure setting is mid-right of image and is set to 992, the QFE at Lasham.
Adjustment knob is bottom left of image.


Explanation: QFE and QNH Pressure Settings.
The abbreviations in the caption of the previous photograph are part of the Q Code from the early days of radio. Although I will not go deeply into the subject here I just want to highlight that the Altimeter in an aircraft is simply a barometer that measures the ambient air pressure. As you go higher the air pressure falls because the air gets thinner. This happens in a regular way so that it is possible to make such an instrument that usefully shows you your height – certainly at the altitudes recreational pilots usually fly. The altimeter has a knob to set the reference pressure setting at which it will indicate zero feet. That is what is shown bottom left of the altimeter photo here and you can see that it is calibrated up to 20000ft. The altimeter pressure setting is in millibars, where 1000 millibars is 1 bar, about 14.5psi.

Just in case you get confused about the usage of words like height or altitude, they have specific meanings in aviation. Height is how high you are above the ground, and Altitude is how high you are above sea level, and I will use these meanings in the rest of this explanation.

For the altimeter to show you your height, you need to set the reference air pressure at the reference point on the ground. This is where the Q code word QFE is used. “FE” stands for “Field Elevation”, i.e. the altitude of the airfield, and the QFE is the pressure setting at this altitude. By setting your glider’s altimeter to this pressure setting it will show you how high you are above the airfield. Just what you want for local flying.

You can also do it the other way around which is what I do before launch. I set the altimeter to read zero feet while on the ground and then I read off the pressure setting, which is the QFE figure. This is the first figure I write on my piece of paper.

So what is QNH? Here “NH” stands for “Nautical Height” and, as you might guess, is the pressure setting at sea level. If you set the altimeter to the QNH setting, it will give you the altitude of the aircraft above sea level. If I know the altitude of the airfield above sea level – for example Lasham is 620ft – all I have to do is adjust the pressure setting knob until the altimeter shows 620ft, and then read off the pressure setting. This will be the QNH and is the second number I write on my piece of paper.

Measuring the pressure settings when the aircraft is on the ground is a good idea, because when I am flying I can then adjust the altimeter pressure setting to those numbers without having to think too hard and the altimeter will show how high I am above the ground if set to QFE, and will show how high I am above sea level if set to the QNH.

I need to know these numbers because the aviation maps will usually show altitudes of not just ground features, but also airspace. Another set of numbers the map shows are “Flight Levels”, but that is for another time because my brain hurts and I bet yours does too. If you get a chance to go flying ask your instructor to allow you to play with the altimeter setting and explain to you what is going on.

Suffice it to say that before every flight I fiddle around with the altimeter and write down both the QFE (Field Elevation) and QNH (Nautical Height) pressure settings. If I am not at Lasham my aviation map will show me the altitudes of all the airfields so I can easily find out the QNH.

21:38 : Glider tucked up in bed for the night. The next day was going to be really good - but I wouldn't be there. Shame.


All in all a long day for yours truly from 8am to 9:30pm, but once again a very rewarding and content feeling as, back at home, my head hit the pillow and I went straight off to sleep.

Night night, sleep tight…

GLIDER CHRONICLES 2011 – June 25th : Vintage Beauties

The Saturday evening youth group had a real treat on this day because it was a Vintage Gliding Club memorial day for Chris Wills – a VGC founder. This meant that there were lots of stunningly beautiful old gliders about which, due to the inclement daytime weather, were flying later into the early evening.

A flypast had been organised so we had to hold operations later in the evening for this to happen, followed by an aerobatic gliding demonstration flight.

Due to the bad daytime weather I did not fly, but still got to the club early enough to get some pictures of the vintage aircraft. The first one I came across was an immaculate example of that old powered training and aerobatic biplane, the Tiger Moth. So my evening of picture taking started with these shots:

Rear shot showing the lovely curves of the tailplane.

An immaculately turned out G-EMSY.


It was also the perfect opportunity to try an HDR (High Dynamic Range) image – this being one where the camera takes 3 images at different exposures and combines them into one. It basically allows you to see the darker cockpit interior well, despite the bright ambient sunshine.

Tiger Moth cockpit showing the lovely old instruments.

Close shot of the wing of the Slingsby T-13 Petrel.

I then returned back to the club hangar and found one of my favourite looking gliders – the Slingsby T-13 Petrel. This shot shows the internal ribbing of the wing. This glider has neither flaps nor airbrakes so you need to get your side-slipping sorted out or else judge your approaches really well.


Explanation: Side-Slipping (or How To Turn Your Glider Into A Brick)
A number of older gliders either did not have airbrakes, like the Petrel, or had very weak ones. This is a problem when landing since you can fly on for a long way in a glider and may need a very long field indeed. Thus we are taught to perform what is called a side-slip.

Normally when you fly you try and harmonise the turning and banking of the glider. So if you bank to the right you also turn to the right with the rudder. Thus you are coordinating the controls. A side-slip involves purposely crossing the controls.

So in a side-slip if you bank to the right with the ailerons you use opposite rudder to the left. This then makes the aircraft turn its right side to the airstream and you go down slightly sideways – quickly! (See my Adverse Yaw Exercise in this post to get a feel for this attitude) This is very useful if you find you have too much height on approach. Needless to say you straighten the aircraft up before you actually land.

Great fun, as I usually say. However, there is a knack. The problem is that the instrument for measuring the airspeed – an Airspeed Indicator, or ASI – will give an accurate reading when the airflow is head on to the measuring tube, called a Pitot Tube. When you side-slip the airstream goes sideways across the tube and usually makes the ASI under read, meaning you cannot trust it. So you have to adjust the attitude of the glider by eye, keeping the view out the front correct so that you keep the airspeed constant, which you usually only find out when you stop the side-slip! Hence the training. We had a good session of that in my Solo to Bronze week.

The EoN Primary awaiting the intrepid pilot.

The other glider that I saw on the ground – well… I hesitate to call it a glider since it really does come down like a brick, even when flying normally – was the Primary trainer or SG38.

In the early days of gliding this would be used for initial training, when two seater training gliders were not available, and it would be towed behind a car – so I have been told. Nowadays you can get one of the slower tug aircraft to give you an aerotow to 3000-4000ft. Apparently it takes longer to go up on the aerotow than it does for the Primary to glide, or should I say fly-ish, down.

But imagine sitting on the front of it with almost nothing around you but thousands of feet of air. Definitely on my todo list.

I can hear some people questioning my sanity.

Please form an orderly queue – others got there first.

A set of beauties and a really lovely atmosphere.


After some of these initial ground photographs, it was over to the launch point to get ready for the evening, and to see some of the vintage gliders being launched. It was a lovely atmosphere with more of a sense of the slower tempo of yesteryear. Do you remember when people used to think that all this modern technology would give us more leisure time? Not sure what happened to that.

The right hand picture below is of a Slingsby T45 Swallow being launched. For those in the know I have left the 2 people in the front of the shot. The person chatting with his face to the camera is the great Derek Piggott, a past CFI at Lasham from 1953 to 1989.

The beautiful gull-wing Steinadler
waiting for a cable.

Slingsby T45 Swallow being launched
with Derek Piggott chatting in the foreground.

Vintage gliders being aerotowed ready for the flypast.

The daytime group winch launching gradually subsided, allowing the youth group to take over the evening launch point. Then later it was time to orchestrate the vintage glider memorial flypast.

This involved 4 tug aircraft launching 4 vintage gliders and performing an aerotowed flypast followed by the gliders releasing and landing in pairs. Vintage gliders tend to fly slower than their modern counterparts and thus have a very graceful bearing. I also admit to having a soft spot for the beautiful gull wing shapes.

The flypast was followed by an aerobatic glider display and then Gary flew the Primary to end the day of memorable and memorial vintage gliding fun.

Tug landing after the aerotowed flypast.

Super Cub Tug landing into the sunset.

The beautiful Petrel coming into land after the flypast.

The Steinadler catching the evening sun as it turns finals.

A perfectly executed loop.

Gary on approach in the Primary, subsequently heard to shout "I need a buggy!".

So after Gary and the Primary were retrieved the youngsters finished the last flying of the evening, put the gliders to bed in the hangar and retired to the clubhouse for logbook signing, eating and drinking before returning home.

Once again a fantastic, wonderful and beautiful evening that will be remembered by all for a long time to come.

See you soon…

The last light of the day, just before driving the launch point bus back to the hangar.

GLIDER CHRONICLES 2011 – June : More Competition Pictures

One of the youth flyers, Alex, has made available some photos which complement my earlier post. He flew with Colin and G (yep, just ‘G’) in the Duo Discus 775. They did really well with Alex doing half of the flying, ending by coming 3rd overall by the end of the Lasham Regionals week.

So here we are. First pic with me looking like a wally. My normal state when on the airfield:

Me taking a picture of Alex taking a picture of Me taking a picture of Alex taking...

Alex taking a picture of Me taking a picture of Alex taking a picture of Me taking...

Val and Sophie (I believe) in the K21 778.

Shot of gliders already airborne and thermalling, while Alex waits...

Thermalling with another glider.

This proves they at least got to Shoreham.

Sometimes you have to find the lift where you can. Didcot power station.

Final glide to Lasham. Main runway 09/27 is just visible centre of picture.

Final glide again, but note the speed: 110kts, 125mph.

Explanation : Final Glide
The simple idea of a glider competition is to get around a specific route, the Task, as quickly as possible. You have to fly your glider, which has an on board GPS logger, around the run turnpoints of the task. Once you have got to your last turnpoint you are ready for the Final Glide home. This all needs to be done as fast as possible and it is possible to compute what your speed should be.

It depends upon a number of factors:

* Performance of the glider.
* Wind speed and direction.
* Distance to destination airfield.
* Planned arrival height at destination airfield.

Glide ratio for the Duo Discus 775 is 46 to 1, and the K21 33 to 1. So if you plug all those numbers in, you get your best ‘speed to fly’. The trouble is that real world atmosphere is not that simple and you will encounter sink and lift on the way which will affect the calculation. And that is where you find the art of it all. How do you make sure you get back home as fast as possible, yet without having to land out in a field.

Gliding is a life’s study.

GLIDER CHRONICLES 2011 – June 4th : Strong Crosswind & Aerobatic Fun

Well, after all the action of the competition in the daytime the evening youth group turned out to be a quieter affair. In the end we had three instructors for the 8 or so “yoof”, but the conditions were windy and cross. Namely we had a strong 45degree crosswind which was curling over the trees on the approach on the north side of the main runway.

This meant that for most of the pupils, the instructors needed to do the take-offs and landings, which was not the greatest learning experience. However, it was a good introduction to just how much fun it can be battling the elements and still managing to do a great landing! The Falke motorglider was also flying and found it tricky enough that the pilot had to go-around and have another go at his landing.

Hats off to all the pilots if you ask me.

Explanation of Curl-Over
Curl-over is where the wind blows against an obstacle and on the downwind side curls around in what are called vortices. As the name implies these are twisting currents of air and are at least troublesome, and at worst, dangerous. It all depends upon exact conditions of windspeed and direction. As a recreational pilot you would not be flying if the wind was too strong anyway, so you should be able to handle them. Wake vortices from departing or arriving jets are another matter however and that will need an explanation in its own right at a later time. Go to the Lasham manual on coping with jet movements if you cannot wait!

Diagram (not to scale) of how a glider can get caught in the curlover from trees as it is landing.

A quieter Saturday evening launchpoint.

For those Cloud Appreciators among you, here is the effect you can get when a high flying aircraft disturbs the natural airflows. This is a graphic example of the effect of wake vortices. It is worth zooming into the picture and looking at it at full size to see the actual shapes of the vortices.

High flying aircraft leaves a vortex trail.

End of the Day and time for some Aerobatics
After the remaining K13 gliders had been flown back to the hangar…

Flying a K13 back to the hangar.

John and Val returned to the launchpoint to fly the remaining 2 aircraft back. Since the last glider was the K21 John took Callum and Helen up for a couple of aerobatic flights, always a highlight of the evening.

I also remember some banter about how wearing sunglasses that late in the evening was only for looking cool!

The last 2 flights of the day. A Grob102 and a K21. K21 off to do aerobatics.

Here is a shot of an earlier aerobatic glider, the Pilatus, off to practice some aeros in the “box” of sky reserved for such manoeuvres.

Pilatus aerobatic glider off for some loops.

Thats all for now, so until next time…

Happy flying!

GLIDER CHRONICLES 2011 – June 4th : Competition Saturday

Saturday was the penultimate day of the Lasham Regionals Competition and glider 775, one of the youth gliders, is currently standing at 3rd in the B class. 778 on the other hand is well down in last. However, fun has been had by all.

The schedule today was gruelling. Gliders were brought to the grid before the 10 o’clock briefing…

The glider grid assembled in the shimmering noonday heat,

And then had to wait…

One 778 pilot making the most of the wing area.

And wait…

Still waiting...

And wait…

Malcolm looks like he has done this before!

Until the pre-launched “sniffer” gliders announced thermals were starting so launching was to begin at 1:30. As you can see Sam in 778 was over the moon…

Sam is ready to roll.

So the tug planes were readied…

One of the more powerful Lasham tug planes. Recently refurbished.

And they were off…

At last we're rolling.

And away!

Airborne at last.

The task for the day? 103.6km total distance. Lasham to Illsley, just North of Newbury, then to Hurstbourne Tarrant, near Andover, eventually arriving back at Lasham to clean the bugs off the wing.

Time to clean the bugs off.

Meanwhile yours truly did not actually fly today since it was too windy but did find something to set his heart on. I know I am trying to get converted to the single seater Grob 102 glider, and that is a good next target..

One of the Lasham Grob 102s, affectionally know as Baby Grobs.


Although the cockpit is looking the worse for wear.

But my eyes alighted on one of the club Discus gliders, SH2, and now I am after getting checked out on that. Beautiful. We will have to see just how long it takes.

One of the lovely Schempp-Hirth Discus club gliders.

By the way “SH” stands for “Surrey & Hants”, one of the original clubs that were amalgamated to become the Lasham Gliding Society.

Next I have a report from the Saturday evening group which was tough flying due to the strength of the crosswind we had that day.

GLIDER CHRONICLES 2011 – May 31st : Competition Day

This week is competition week at Lasham. After a miserable weekend the sun came out on Tuesday to allow the competition to have its first day of flying. Although it was a sunny day the competitors were surprised by a hailstone shower coming across the airfield right in the middle of launching the gliders.

[Note that all pictures in this post are just the right eye of a stereo shot. Under each photo I will link to the left hand eye so that those who wish to do so, can mess around and make themselves a stereo shot. Be aware that this is a very photo intensive post, but then pics are always nice to have.]

Some pilots sheltering under a glider wing during the hailstorm. Notice the high fashion parachutistas! As well as the beanie hat brigade.

[Left eye shot here]

Although not taking part in the competition I did manage to fly that day which will be in a following post. However below are some pictures from the competition launch point taken when I took a break from normal club operations to go and help some of the Saturday evening youth flyers getting ready for the off. Dave, the organising instructor from the Saturday evenings, had arranged for two twin-seater gliders to be flown in the competition with a youth member.

The Yoof Gliders

So first up is glider number 775 flown by our beloved CFI (Chief Flying Instructor) Colin with Alex (nowadays cleared for solo) as his second-in-command. The glider is a Duo Discus.

Alex in the front with Colin the back waiting for the aerotow.

[Left eye shot here]

In the other glider, number 778, we had the intrepid and hard working yet eccentric Dave, with Sarah as his second-in-command. Sarah also is solo and has defected to the military for her flying training, intending to be a commercial pilot one day. The glider is an ASK21.

Dave in the front with Sarah looking cool in the back.

[Left eye shot here]

Task du Jour and how they did

The flying task set was to fly 272.8km (very important the “point eight” according to Sarah), from Lasham via Newbury and then up to Silverstone. The return journey required coming back to Lasham via Andover.

Colin and Alex managed to make it all the way round with Alex remarking on landing that his feet had been cold. Yes Alex, that happens when you’re flying near cloudbase! Unfortunately David and Sarah needed an extra launch or two and finished the day by landing out at Popham. They then got an aerotow from Popham that allowed them to fly back to Lasham.

From the smiles on Alex and Sarah’s faces you could tell that great fun was had by all.

More Photos

Colin, Alex, Sarah and Dave sheltering under wings until the rain and hail pass.

[Left eye shot here]

The competition grid in front of the youth gliders.

[Left eye shot here] The full grid of both the ‘A’ class and ‘B’ class contains about 60 gliders.

Sarah watches, Alex gets his cockpit ready and Colin relaxes!

[Left eye shot here] Of course it is so important to get that cushion just right. Although I do believe Alex was trying to work the ClearNav system.

Sarah and Alex doing tech setting up the GPS-based navigation system for the task.

[Left eye shot here] For the tech-heads among us the nav system is a ClearNav flight computer.